Thursday, September 30, 2010

What to do With All These Apples?? Part 1 - The Cookie Post

The next few posts are going to be about apples.  Why?  Because its my blog and I can!
No, that's not it at all...I have an abundance of apples. 
A good friend and I went apple picking a week or so ago and every corner I turn there they are - those crisp, sweet/tart, red and green delectable pieces of fruit!

I hadn't really given it much thought until we were out in the orchard that day.  I heart apples! 
There was this little sign that said that "sampling was allowed" so I took full advantage of that let me tell you.
The day was beautiful, sunny, blue skies, warm with a cool breeze - almost fall, the perfect day to pluck.  The orchard had a few varieties to choose from however we picked Cortland and Empire (and I sampled both prior to purchase)
We walked around chatting, giggling and picking.  It was almost serene. And then something happened....I bit into an apple the size of an orange and a feeling of euphoria came over me - I was in love with the apple all over again!!
But much like being in love with anything you can over indulge.  This my friends is why I have multitudes of apples in the house.

I happen to have THE best chewy oatmeal apple cookie recipe for you though!! 
I am tempted to use this recipe from here on in with any cookie I make and just substitute choco chips, nuts, fresh/dried fruit - it is honestly one of the best chewy cookie recipes I have ever tried!!

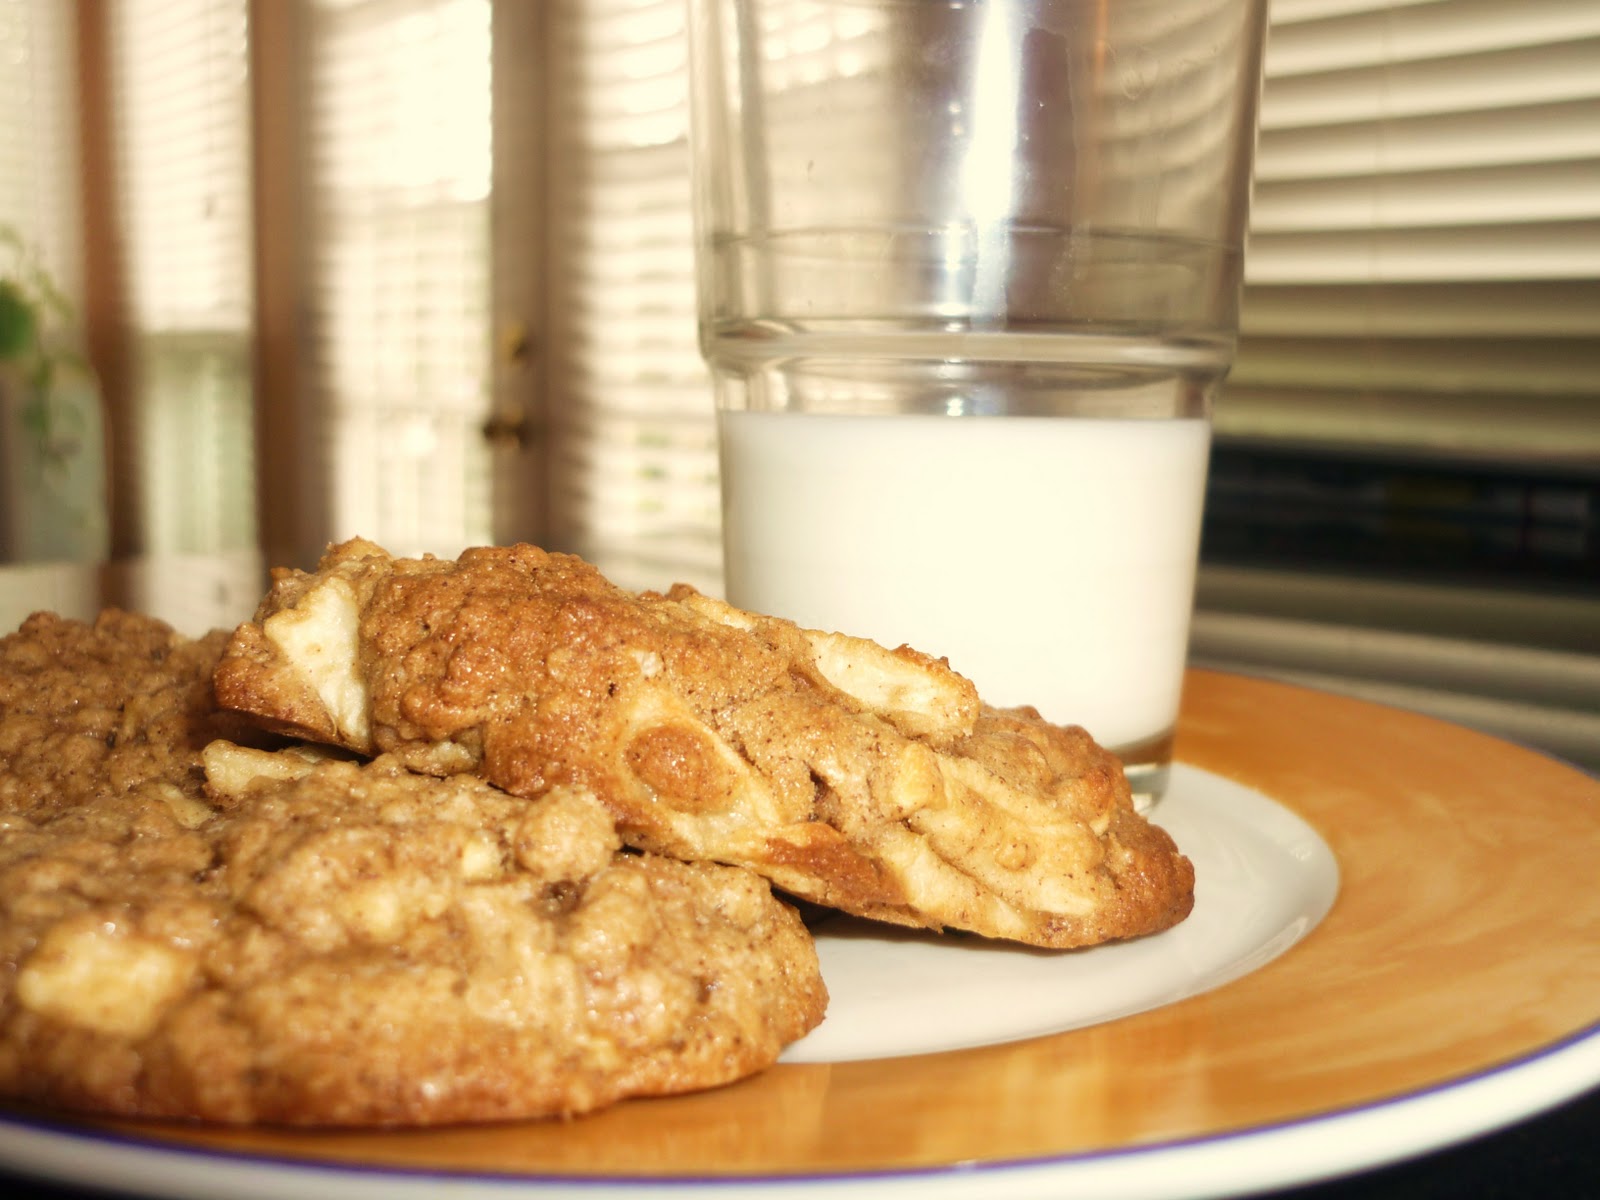
CHEWY OATMEAL APPLE COOKIES

3/4 c. margarine - room temp (or butter if you prefer)
1 - 1/4 c. brown sugar
1 egg
1/4 c. milk
2 tsp. vanilla
1 c. flour
1/2 tsp. salt
2 tsp. cinnamon
1/4 tsp. baking soda
3 c. quick rolled oats
1 c. diced apples

Preheat oven to 375.
Blend together  margarine, sugar, milk, egg and vanilla until combined and smooth. (a whisk will do just fine)
Stir in flour, salt, cinnamon and baking soda just until combined - do not over mix.
Fold in oatmeal and apples.
Drop by tablespoon onto parchment lined baking sheet.  Bake 13-15 minutes.
Makes approx. 2 dozen
Print Friendly and PDF

Tuesday, September 28, 2010

The No Food Post

Wow, it feels like forever since I have been on here writing about food, I'm sorry!
This doesn't mean that my family has starved though, they would never let me get away with not cooking for more than a night.  I suppose the foods that have been made in the past little while I assumed people already make - maybe not?

In the wake of the new school year its been a mad house coming up with lunch ideas that don't take forever to make as well as being palatable for a 12 year old who really would prefer to eat pb&j sandwiches or the infamous grilled cheese day in and day out.  I think that makes me the "mean mom" that wont let their kid eat processed-packaged-heat in the microwave for 3-5 minutes crap - AHHHHH!!!! 
Don't fret, "little Ugh" actually likes my cooking, he likes coming home for lunches because he knows there is always something good to eat.

I admit, I will give in to temptation of a good grilled cheese every now and then but only if there is great bread and cheese in the house and of course some pork fat grilled inside - yes folks, bacon!  Bacon is SOOOO good in things, around things, on things, HECK its just good on its own!!  My mouth just watered.....I think I might just have to have an "ode to bacon" blog in the near future.  WOW that was a detour of course if I ever saw one!

Ok, Ok, so by now you've realized that this post is all talk, no pictures, however while I have been a little relaxed on the writing aspect I haven't been lazy!  I promise to add the recipes I liked the most and also to dig up some good ole bacon recipes to curb my now yearning taste buds!!

If you have any bacon suggestions that you want to see lemme know!!
Print Friendly and PDF

Wednesday, September 15, 2010

Little Ugh's Pick - TURNIPS

Turnip? What kid picks TURNIPS?  My kid does!
As I mentioned in a previous blog, we have our new veggie rule - at least one new one must enter our cart and fill our bellies each week (or each time we shop).  The choice is rotated so that the 2 "Ughs" can't complain that they have to eat gross food.  So here we are, left with turnips....or is it rutabagas?  I had a fight this weekend that they are different.  My mom used to use rutabagas when I was younger.  They look different, one has a waxy coating, the other can be peeled, they have different coloured flesh, they aren't even the same size!  I got home and have been Googling ever since. 
They are in the same family, but they are not the same (depending on which site you choose to believe)
So again, announcing...TURNIPS (can you tell by my side notes that not only am I trying to convince you that this recipe is the end all and be all of turnip recipes by prolonging the recipe but maybe a little of how I was feeling about eating them - evading!!)  Actually, if I was going to eat this veggie all the time this would be how I would make it - unless I mashed it and mixed it with potatoes

Pancetta Crusted Turnips
4-5 turnips, washed, peeled and cubed
thinly sliced pancetta
1/2 c. sesame seeds
1 egg slightly beaten
oil - for deep frying

Heat oil to 350 and oven to 350 also.
Wash, peel and cube turnips into 1x1 in cubes.  Wrap the turnips in pancetta, dip in egg wash and roll in sesame seeds.
Deep fry for about 1 minute or until seeds are golden brown (work in batches).  Place on a paper towel to drain.  Move to a baking sheet and bake for about 15-20 minutes or until soft inside.

This was paired with mozzarella and spinach stuffed chicken breasts wrapped in the left over pancetta - team consensus....we will eat them again :)
Print Friendly and PDF

Sunday, September 5, 2010

Strawberry Cream Dream Dessert

I received a "dessert only" cookbook for a present one year and while I have opened it many times before I have only ever made 1 dessert from it. 
Why you ask? Am I lazy? HA, NO!
I guess it's because in my house, dessert is really only consumed by me, unless its chocolate, and then Little Ugh is all over that and I am forced to start hiding things and locking cupboards.  Its sad to make tantalizing treats that simply go to waste and so we normally don't have dessert unless I am in one of THOSE moods (which has been more often than not these days) or there is going to be a gathering that I can bring mouthfuls of pleasure to.  Good thing I know there is a new neighbour moving in across the street - I will force HER to enjoy my baking with me, and hey, maybe she can shovel my driveway in return!  Fair trade I think!!

I had wanted to make this dessert last week only to discover that marscapone cheese is outrageously expensive. Never sourcing it out before I was nearly sent into a deep depression when I walked into the grocery store to find it to be $11.00 a tub!!  Now, I agree that good food knows no limits but my pocketbook does and therefore this recipe was cast aside.
Then I got home and after cursing the cheese gods, I got to thinking....why cant I just make it with some cream cheese and whipping cream??  Oh dear friends....you can!! 
Let's call this....

Strawberry Cream Slice
Filling
1 pkg cream cheese (I guess you could use low fat but when trying to mimic the marscapone you really shouldn't)
1/4 c. whipping cream (35%)
1 vanilla bean
1/2 c. icing sugar - sifted
1 tbsp. lemon juice
2 c. strawberries (quartered)
10 milk chocolate wafers (melted)

Crust
3/4 c. unsalted butter
1/3 c. superfine sugar (take granulated and pulse it in a blender or food processor to almost look like powdered sugar)
1 egg yolk
2 c. all purpose flour - sifted
lemon zest

Preheat oven to 350.  Lightly grease an 8x12 baking dish and line with parchment.(leaving the longer ends out)
Beat butter and sugar with an electric mixer until light and fluffy.  Add in the egg yolk and beat well.  Fold in the flour and zest until well combined.  Place into baking dish and press firmly.  Prick it all over with a fork.  Bake for about 25 minutes.  Cool completely!!
While this is baking, mix the cream cheese, cream, vanilla bean and sugar until smooth.  Fold in strawberries.  Place in the refrigerator until ready to pour into the crust.
Once the crust is completely chilled, pour the cream mixture onto it and smooth out to cover the entire surface.  With your melted chocolate in hand, drizzle over the dessert.
Cool at least 3 hours to set and serve!
Print Friendly and PDF